Creating a Vue 3 and TypeScript project using Vite
If you’ve landed on this page, you’re probably been using Vue for a while or at least thinking about using it. But you’re probably more interesting in setting up a project in Vite in order to start coding.
I’ve been using Vite since the start of 2021 for several private and work-related projects and I’m loving it! The development server takes no time to start up (average is around 250 milliseconds) and for most projects the default configuration is exactly what you need. No more messing around with a bunch of plugins for “normal” projects!
Ready to start? It’s very easy!
Before you begin
Nowadays, Vite has become the de-facto standard for Vue 3 projects. That means that the documentation of Vue 3 on it’s official website already shows you how to setup a project using Vite.
This documentation is also kept up-to-date neatly, therefore making this article useless. I would suggest using the official documentation as your starting point for any Vue 3 project.
The rest of the article will describe the different steps that are taken when starting a new project and what they mean.
Requirements
There are not a lot of requirements to get started (otherwise I shouldn’t have said it was easy).
- Node.js version 18.3 or above
- Terminal
Creating a Vue 3 project
If you have Node installed (which is necessary) then you also have npm available in your terminal. So we can start immediately.
In the terminal, run the following command:
npm create vue@latestAfter this there’s basically only a few questions that the terminal will ask you and when completed, your project is good to go! The different questions are described in the below chapters for more information 😄
If you’re running this for the first time, you will see the following question in your terminal:
Need to install the following packages:
create-vue@3.10.2
Ok to proceed? (y)
Just press y and enter and it will continue.
Picking a project name
The first step is to pick a project name. The terminal will display a placeholder called “vue-project” as can be seen in the below example, but it disappears once you start typing your chosen name.
? Project name: › vue-projectTypeScript
The next step is to decide if you’re going to use TypeScript or not. If you’re not familiar with TypeScript (yet) you can opt to not use it. My personal advise is to enable it and start learning it as it makes your application much better to maintain.
? Add TypeScript? No / YesJSX support
Personally I am not a fan of JSX and I will not use it in any of my articles, but feel free to enable it if you want to use it.
? Add JSX Support? No / YesVue Router
Adding Vue router depends on the type of application you’re building. But in most cases this can be very helpful in dealing with multiple “pages” in your application.
? Add Vue Router for Single Page Application development? No / YesPinia
Pinia is a very powerful and lightweight tool for state management. Basically, if you have data that you want to have shared between pages in your application, I’d advise to add Pinia.
? Add Pinia for state management? › No / YesVitest
Vitest is a very helpful tool for writing tests for your components and functionality. Even if you’re initially not using it, I would still advise adding it for later.
? Add Vitest for Unit Testing? › No / YesEnd-to-end testing solutions
End-to-end tests are tests that mimic a user’s behavior in your application. These are very useful for testing your application through different flows as a user would, therefore providing more insights than only using component tests.
Personally I prefer Playwright but you can choose any of these as they all work similarly.
? Add an End-to-End Testing Solution? › - Use arrow-keys. Return to submit.
❯   No
    Cypress
    Nightwatch
    Playwright
ESLint
ESLint is a very useful tool in using coding standards and finding issues early on. It helps creating a solid code base that is easier to maintain.
? Add ESLint for code quality? › No / YesPrettier
Prettier is a code formatting tool that has a preferred coding style and transforms your code to that standard. It helps in keeping code in a consistent manner so other developers can easily work on it.
Personally I would advise using this to comply with the most common best practices and standards.
? Add Prettier for code formatting? › No / YesActually creating the project
When you’ve pressed enter in the previous step, the project will be created almost instantly and you’re basically ready to go! Just follow the steps as described in the terminal and you’ll even have your development server running!
Scaffolding project in /home/michael/Workspace/Personal/vue-project...

Done. Now run:

  cd vue-project
  npm install
  npm run format
  npm run dev
Recap of the settings
The combination of settings I typically use are listed below.
Vue.js - The Progressive JavaScript Framework

✔ Project name: … vue-project
✔ Add TypeScript? … Yes
✔ Add JSX Support? … No
✔ Add Vue Router for Single Page Application development? Yes
✔ Add Pinia for state management? … Yes
✔ Add Vitest for Unit Testing? … Yes
✔ Add an End-to-End Testing Solution? › Playwright
✔ Add ESLint for code quality? … Yes
✔ Add Prettier for code formatting? … Yes
Running the project
After the previous steps, the commands necessary to start the development server are already described. So by running the following four commands you’ll have your development server up and running.
cd vue-project
npm install
npm run format
npm run dev
Once it’s done, you’ll see the following information:
  VITE v6.0.7  ready in 563 ms

  ➜  Local:   http://localhost:5173/
  ➜  Network: use --host to expose
  ➜  Vue DevTools: Open http://localhost:5173/__devtools__/ as a separate window
  ➜  Vue DevTools: Press Alt(⌥)+Shift(⇧)+D in App to toggle the Vue DevTools

  ➜  press h + enter to show help
Go to the demo page
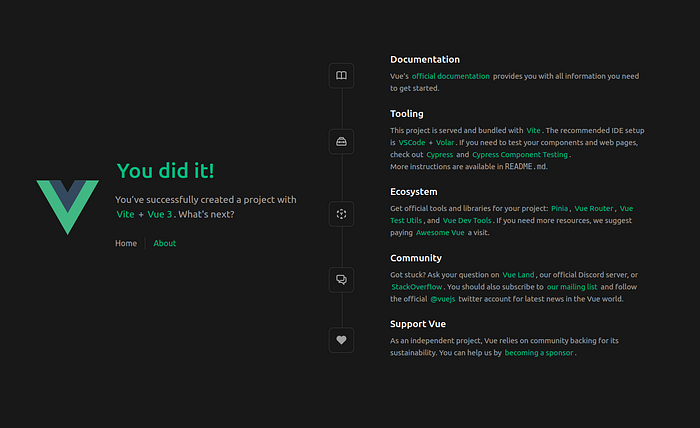
As described in the terminal information, you can go to http://localhost:5173 in your browser where you will see the Vue demo page with links to the documentation and some demo components.
Conclusion
That’s it! You’ve now successfully created a Vue 3 and TypeScript app using Vite. You can now start creating and editing the content that you want.
Happy coding!